

Groups & Audience Segmentation
Sending targeted emails to relevant subscriber segments consistently yields higher engagement, lower unsubscribe rates, and superior inbox deliverability compared to generic list-wide blasts.
In Emalc, Groups allow you to categorize and segment your contacts based on customer behavior, lifecycle stage, interests, or subscription tier.
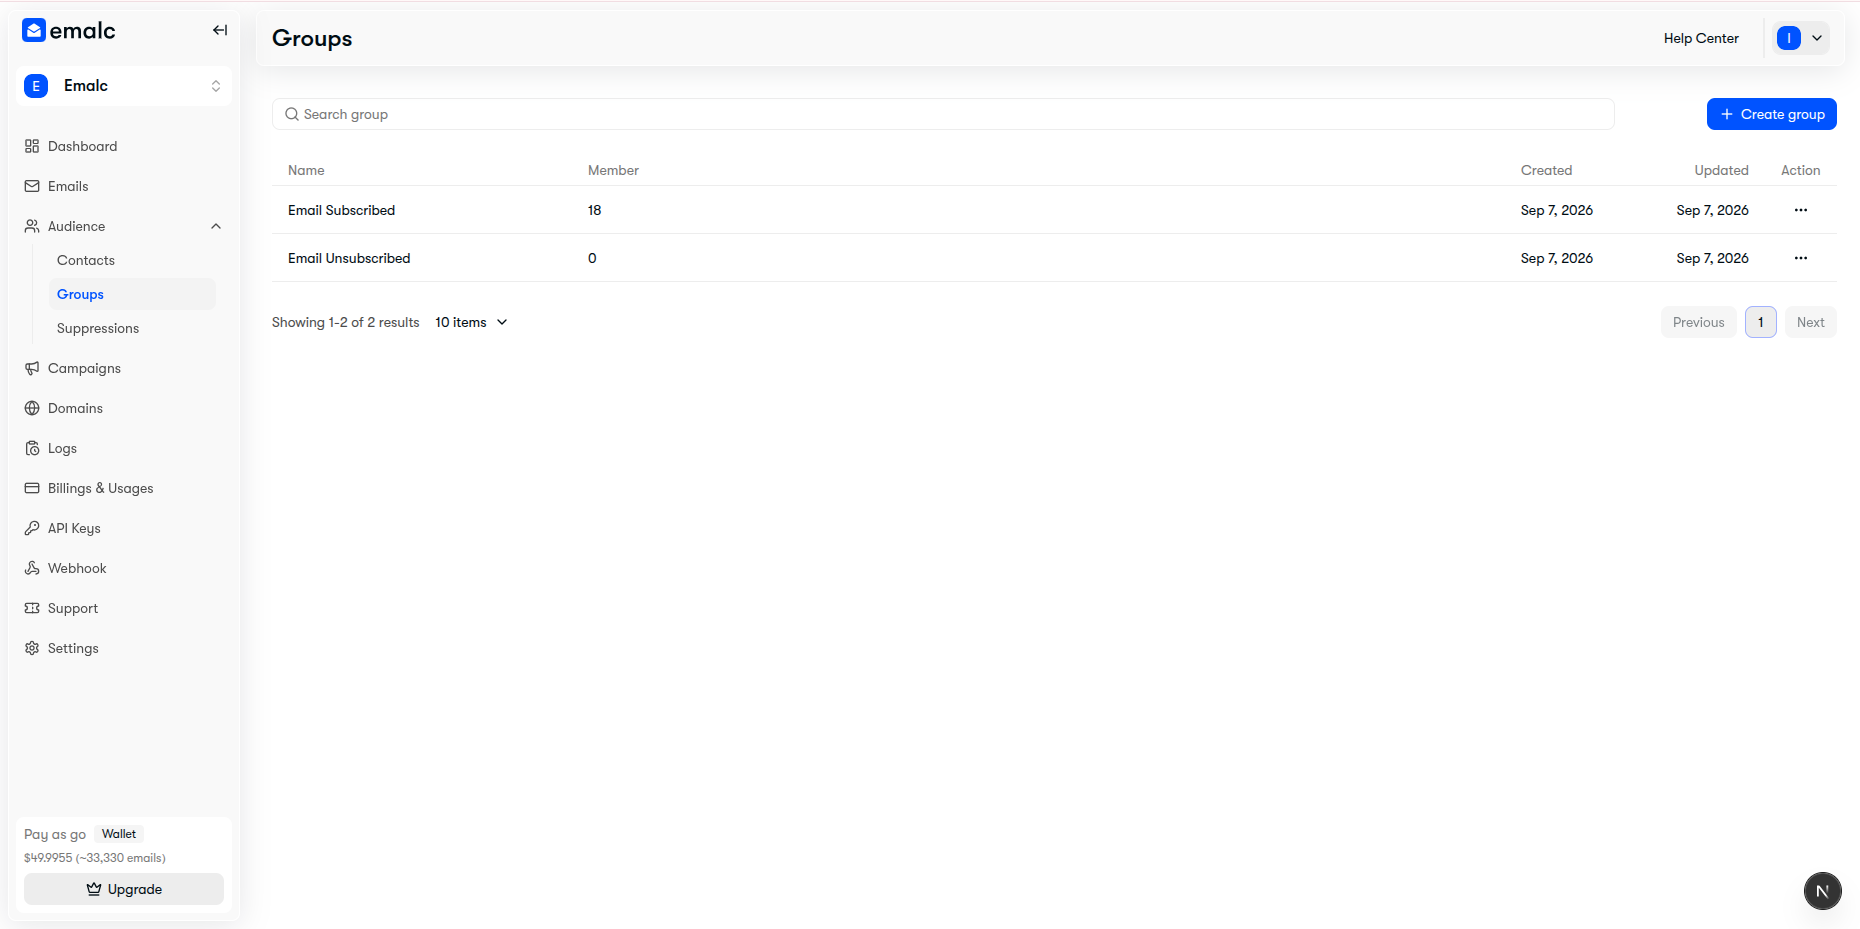 Audience Groups table showing system default groups and member counters
System Default Groups vs. Custom Groups#
Emalc automatically provisions two core system groups that work in tandem with subscriber activity:
| Group Type | Group Name | How it Works | Can be Deleted? |
|---|---|---|---|
| System Default | Email Subscribed | Automatically includes all contacts with active subscribed status. | No (Protected) |
| System Default | Email Unsubscribed | Automatically collects all contacts who have opted out or unsubscribed. | No (Protected) |
| Custom Group | User Defined (e.g. VIPs, Beta Users) | Manually created lists targeted to specific customer cohorts or campaigns. | Yes |
System Group Protection
System default groups are continuously synchronized by Emalc's event processor. When a recipient clicks your campaign's unsubscribe link, Emalc automatically transitions them from Email Subscribed to Email Unsubscribed across your entire workspace.
Creating & Managing Custom Groups#
1. Creating a New Group#
- Navigate to Audience → Groups in your dashboard.
- Click the blue + Create group button in the top-right toolbar.
- In the modal dialog, enter a descriptive group name (e.g.
Weekly Newsletter,Product Launch Waitlist, orHigh LTV Customers). - Click Create group.
Your new group will appear immediately in the groups table with a member count of 0.
2. Adding Contacts to a Group#
You can add contacts to any custom group through three convenient workflows:
- During CSV Bulk Import: In the CSV import drawer, select your target group from the Select a group dropdown before importing. All valid rows in the file will automatically be assigned to that group.
- From the Contacts Table: In Audience → Contacts, click the three dots (
...) action menu on any contact row and select Add to group. - Inside the Contact Edit Sheet: Open any contact's slide-over panel, select one or more groups from the multi-select dropdown, and click Save changes.
3. Group Action Menu (...)#
Clicking the three dots (...) on any group row opens the management options:
- Add new contact: Opens the contact creation sheet pre-linked to this specific group.
- Import contacts: Launches the CSV import drawer configured to directly populate this group.
- Add existing contacts: Select contacts already in your database and attach them to this group.
- Rename group: Update the group display name without altering existing member relationships.
- Duplicate group: Clone the group configuration to quickly build similar sub-segments.
- Delete group: Permanently delete custom groups (individual subscriber records remain safe in your main contacts directory).
Targeting Groups in Broadcast Campaigns#
Once your groups are configured, you can select them directly in Campaigns → Create & Schedule:
- In Campaign Step 2 (Recipients & Tracking), select your primary target group under Included Audience.
- Optionally add an Excluded Audience group to prevent specific segments (such as existing paying customers or recent churn risks) from receiving that particular broadcast.
- Emalc calculates the unique recipient count in real-time, automatically deduplicating contacts who belong to multiple selected groups.