

Add & Verify Domains
Before sending emails from your brand's address, you must verify domain ownership and configure cryptographic authentication records. This tutorial guides you through the complete setup process in minutes.
Enter your root domain or marketing subdomain in the Emalc dashboard.
Copy DKIM, SPF, and DMARC records to your DNS provider or email them to your IT team.
Wait for DNS propagation and click Verify to activate live email dispatching.
Step 1: Add Your Domain in the Dashboard#
-
Navigate to Domains in your Emalc dashboard sidebar.
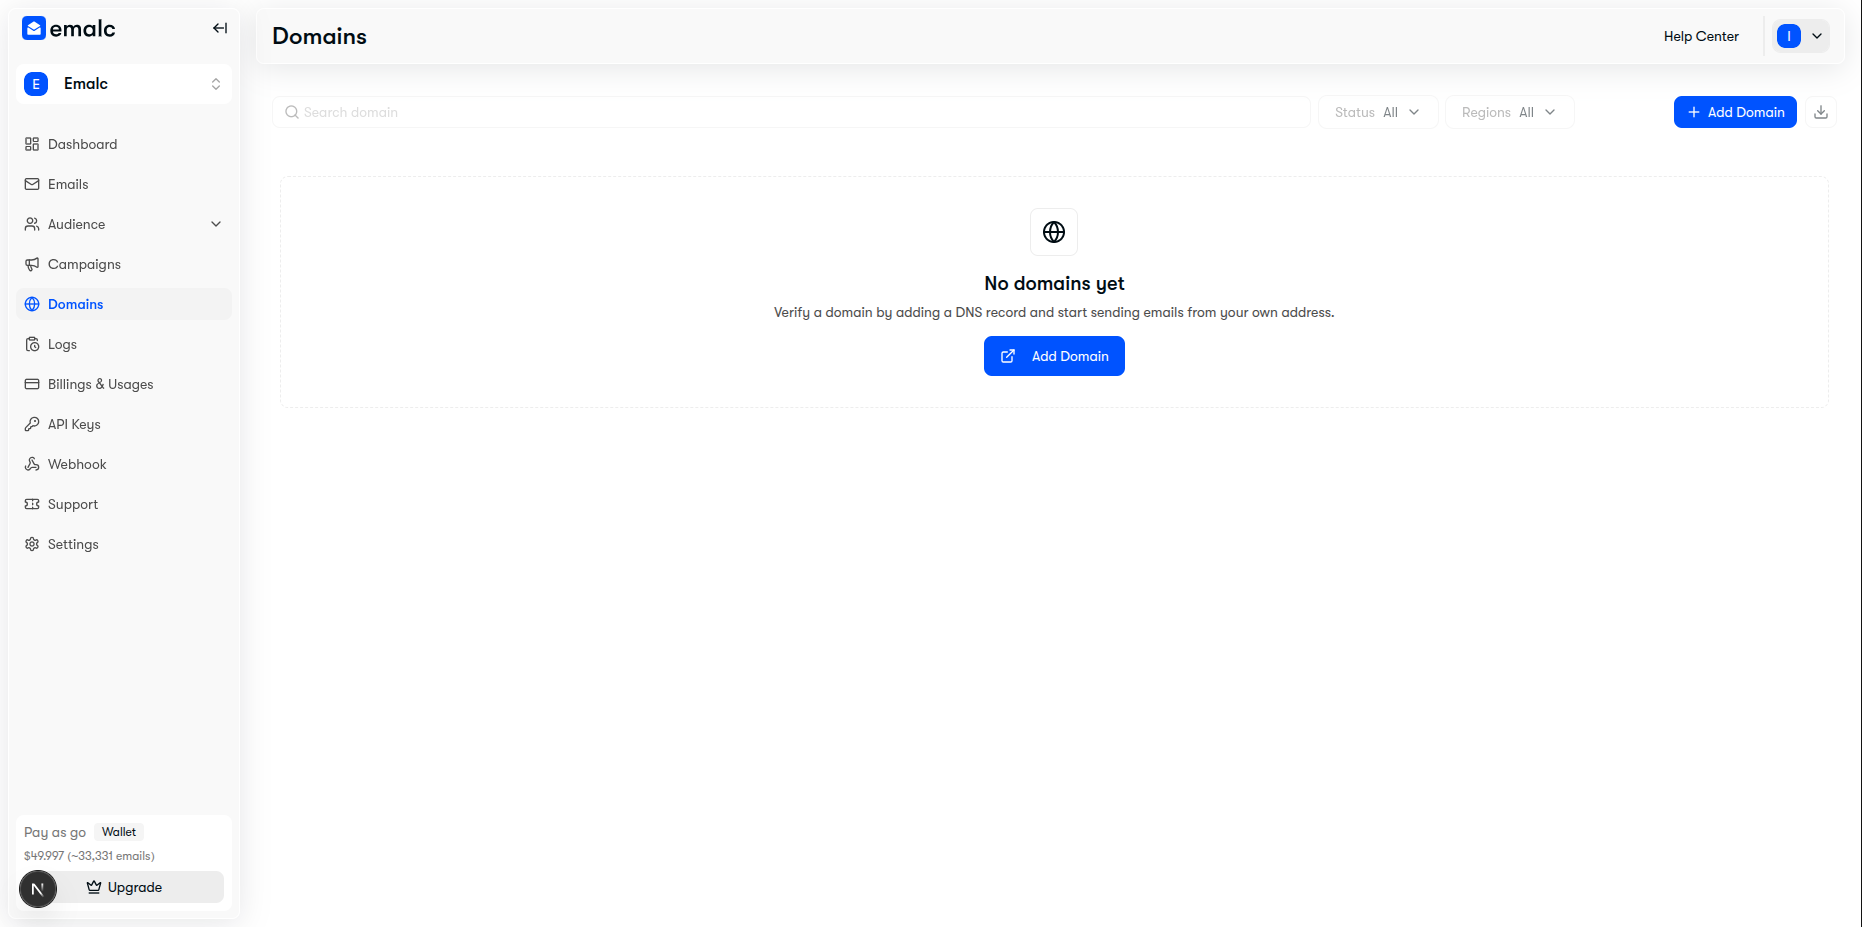 Emalc Domains dashboard empty state with Add Domain button
-
Click the Add Domain button in the top right corner.
-
Enter the domain or subdomain you want to send emails from, and choose the closest AWS Region for optimal dispatch performance:
- Recommended: Use a dedicated subdomain for marketing emails, e.g.
mail.yourdomain.comorupdates.yourdomain.com. - Alternative: You can also use your root domain (e.g.
petpect.com), provided you don't have conflicting MX records.
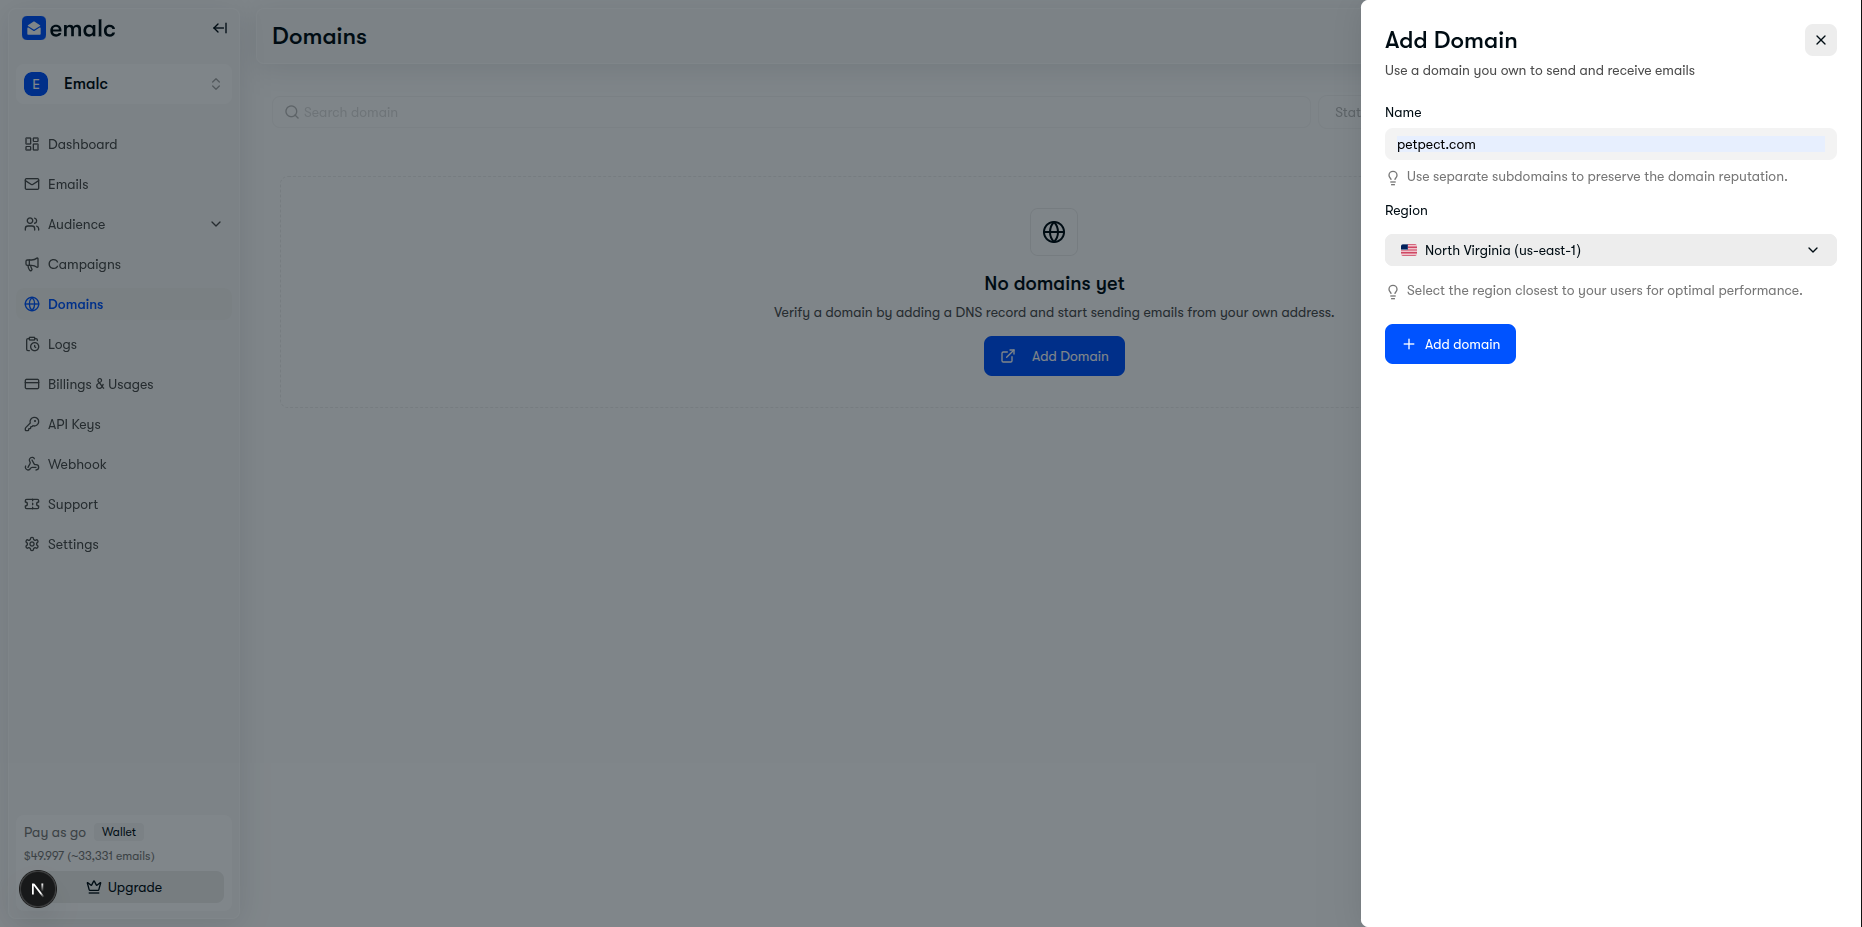 Entering sending domain name and selecting optimal AWS region
- Recommended: Use a dedicated subdomain for marketing emails, e.g.
-
Click + Add domain. Your domain will be immediately registered in the platform with a Pending status.
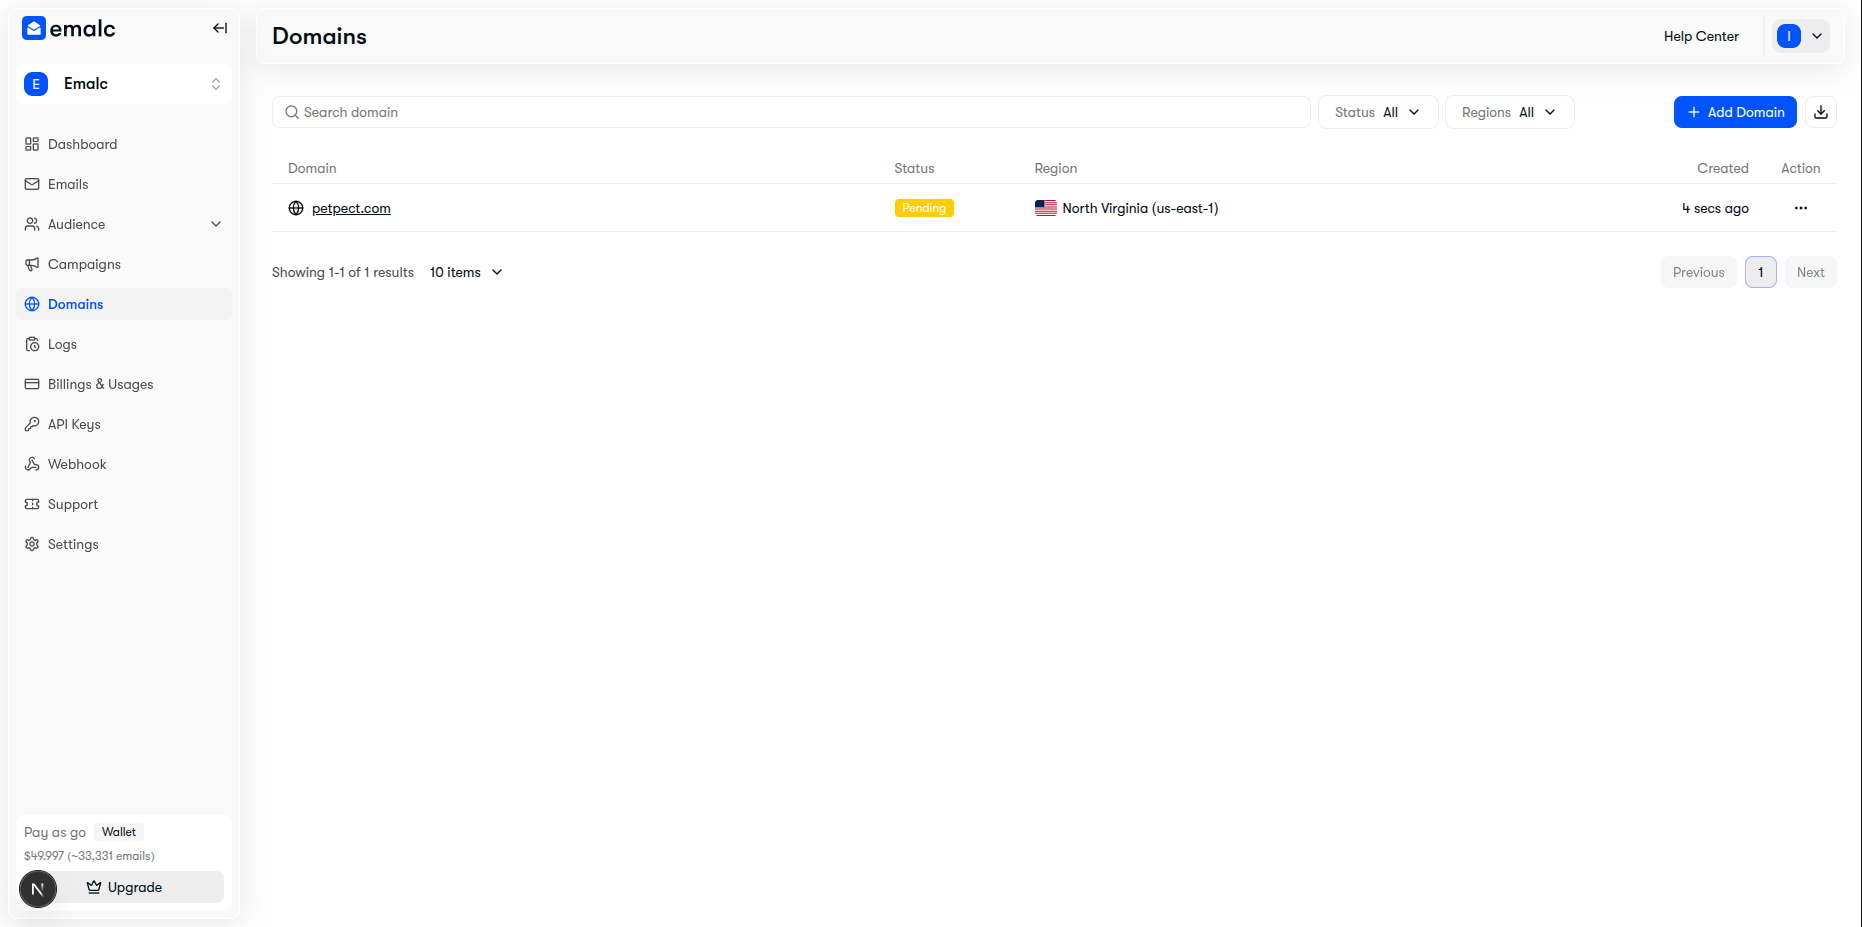 Domain listed with pending DNS verification status
Delegating to DevOps or IT?
Don't have direct access to your company's DNS control panel? Use the Email Setup Instructions feature inside the domain sheet to send the full table of records directly to your IT team or network engineer.
Step 2: Configure Your DNS Records#
Click on your domain row in the table to open the DNS Records Setup drawer. Emalc automatically inspects your domain's nameservers, detects your DNS provider (e.g., Hostinger, Cloudflare, Route 53, GoDaddy), and provides a one-click login link:
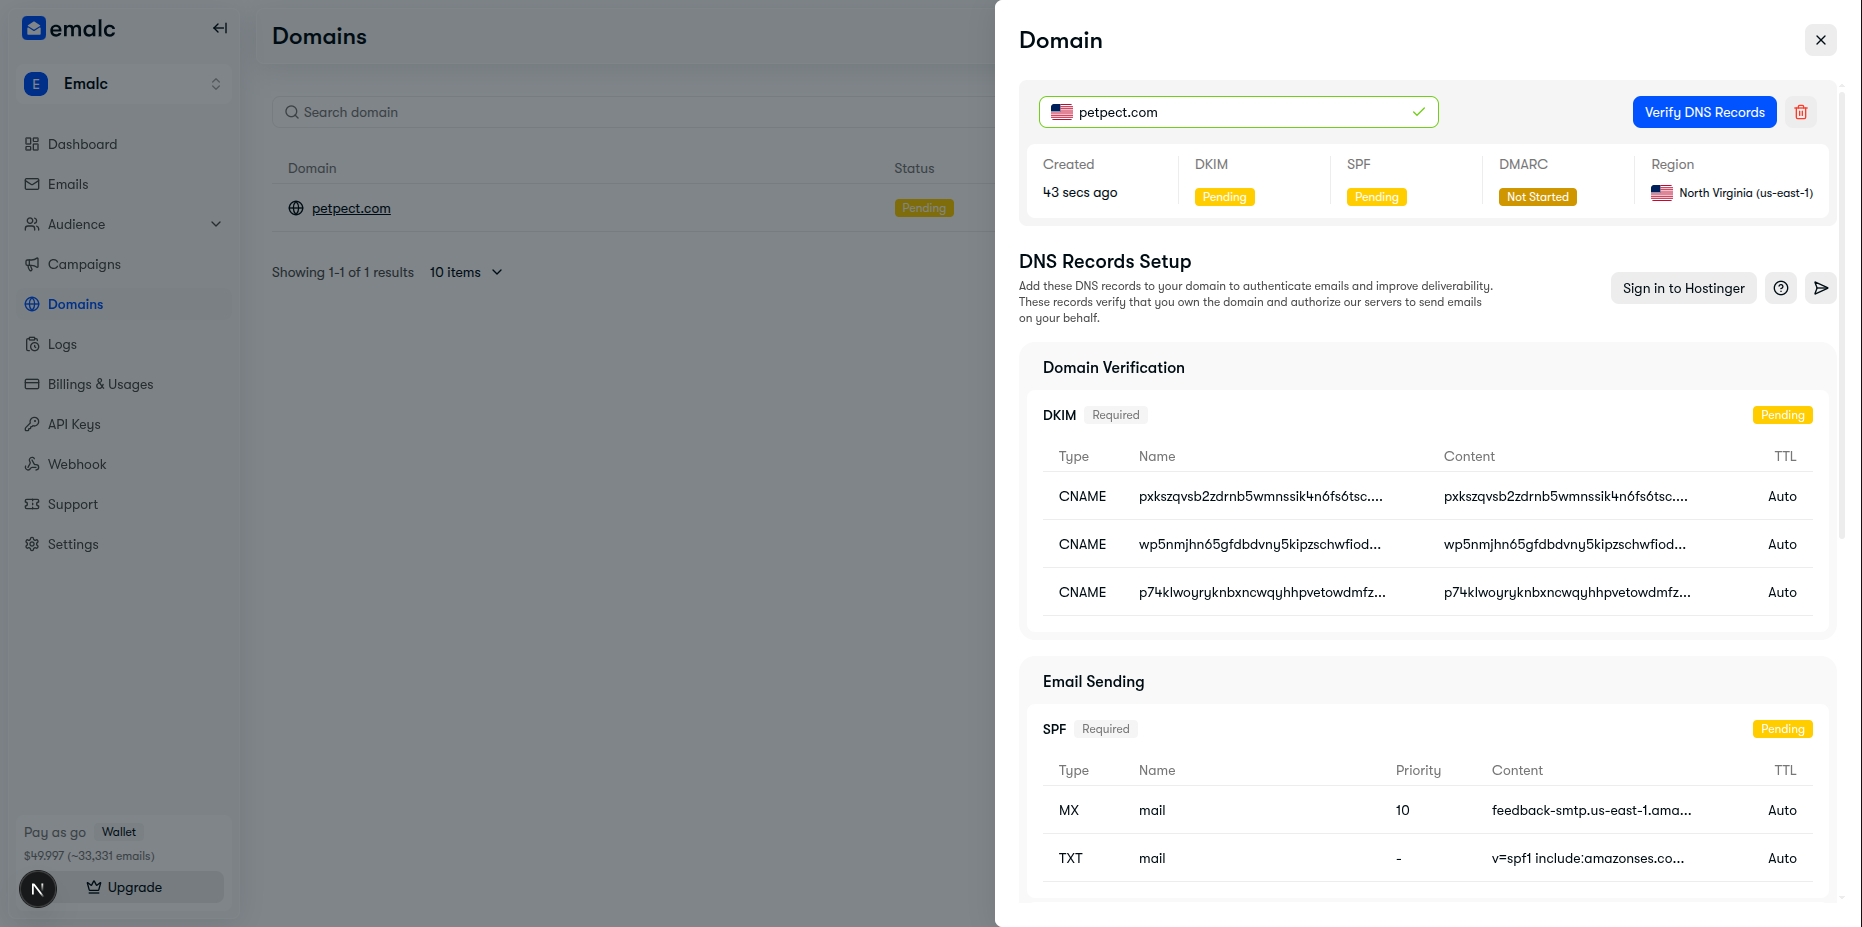 DNS Records Setup drawer displaying detected provider and copyable tokens
Copy the required records from the drawer and paste them into your DNS provider's control panel:
1. DKIM Records (3 CNAME Records)#
DKIM signs each outgoing email cryptographically. Emalc generates three 3-part CNAME records:
| Record Type | Host / Name | Value / Target | TTL |
|---|---|---|---|
CNAME | [token1]._domainkey.yourdomain.com | [token1].dkim.amazonses.com | Auto or 300 |
CNAME | [token2]._domainkey.yourdomain.com | [token2].dkim.amazonses.com | Auto or 300 |
CNAME | [token3]._domainkey.yourdomain.com | [token3].dkim.amazonses.com | Auto or 300 |
2. SPF Record (1 TXT Record)#
Authorizes Amazon SES to deliver emails on behalf of your domain:
| Record Type | Host / Name | Value / Content | TTL |
|---|---|---|---|
TXT | @ (or yourdomain.com) | v=spf1 include:amazonses.com ~all | Auto or 3600 |
3. DMARC Record (1 TXT Record)#
Specifies policy enforcement for Google and Yahoo compliance:
| Record Type | Host / Name | Value / Content | TTL |
|---|---|---|---|
TXT | _dmarc (or _dmarc.yourdomain.com) | v=DMARC1; p=none; rua=mailto:dmarc-reports@yourdomain.com | Auto or 3600 |
4. Custom MAIL FROM Domain (1 MX + 1 TXT Record)#
Ensures custom return-path alignment so your emails display mailed-by: mail.yourdomain.com:
| Record Type | Host / Name | Value / Target | Priority |
|---|---|---|---|
MX | mail (or mail.yourdomain.com) | feedback-smtp.[region].amazonses.com | 10 |
TXT | mail (or mail.yourdomain.com) | v=spf1 include:amazonses.com ~all | — |
Provider-Specific Setup Instructions#
Configuring Records in Cloudflare#
- Log in to dash.cloudflare.com and select your domain.
- Go to DNS → Records and click Add Record.
- Add the 3 CNAME records, SPF TXT record, DMARC TXT record, and MAIL FROM MX record.
Critical: Turn Proxy Status OFF (DNS Only)
Cloudflare defaults new records to Proxied (Orange Cloud). You MUST set the Proxy status to DNS Only (Grey Cloud) for all CNAME, MX, and TXT records. Proxied records will cause verification to fail.
Step 3: Verify DNS Status#
After adding the DNS records to your domain provider:
-
Return to the Domains list in Emalc and open the detail drawer.
-
Click the blue Verify DNS Records button (or the refresh icon).
-
Once DNS records are detected, all badges will switch to Verified and a confirmation toast will appear.
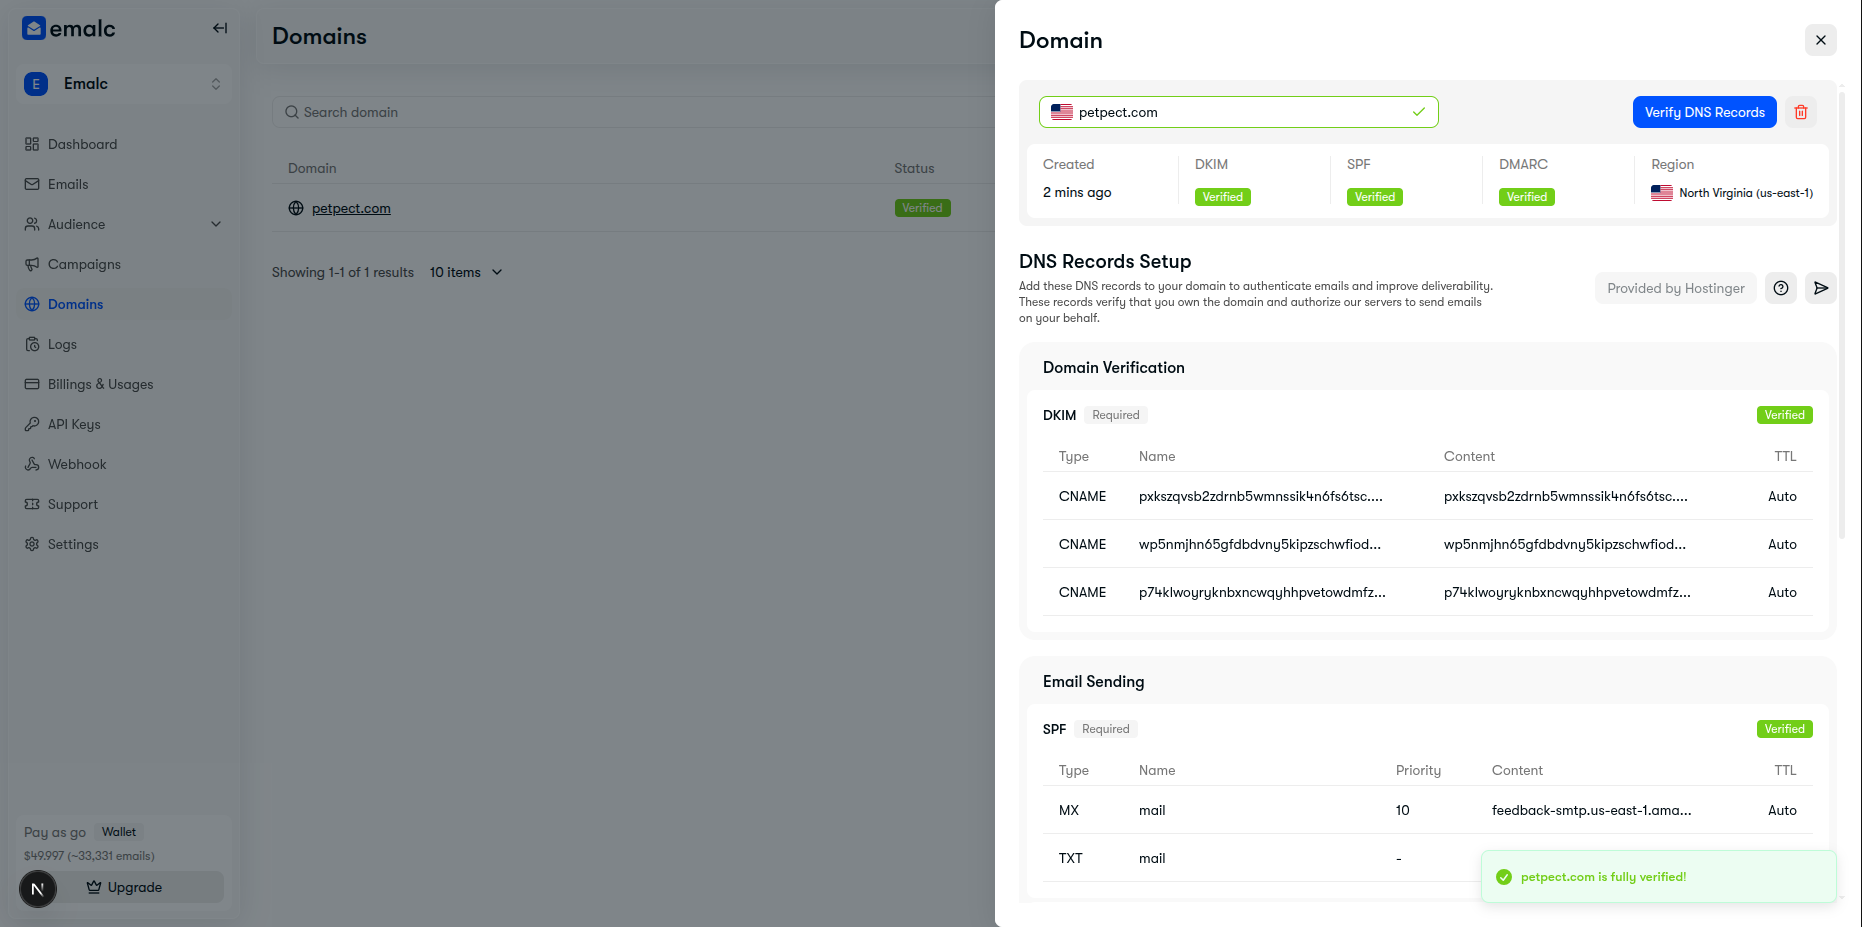 Domain fully verified with active status badges across DKIM, SPF, and DMARC
DNS Propagation Timing
DNS changes typically take anywhere from 2 to 30 minutes to propagate worldwide. In rare cases depending on your provider's TTL, it may take up to 24-48 hours. If verification remains pending after 30 minutes, double check for typos in the record names.